Working with Cinelook and ACES in DaVinci Resolve

The Cinelook Plugin is designed to work with demanding cinema workflows including ACES and Resolve Color Management. The Plugin have built-in Look Modification Transforms and color space aware controls, which allows for very complex creative looks and HDR work. In this easy-to-follow beginner guide, we’ll set you up to get started quickly.

1. Setup Cinelook

Apply the Ravengrade Cinelook Plugin to a node and choose “Cinelook ACES” from the DCTL list to get access to the ACES looks and color space options.

Continue by setting the “Working Color Space” to “ACEScct” which is the most common option for colorists, designed to give a more filmic feel with special attention to shadows and highlight roll-offs.

2. Setup project settings in DaVinci Resolve

Navigate to “Color Management” and set the parameters to match the screen shot below if you work with one single camera format on your timeline. If you work with multiple camera formats, switch from “Alexa” to “No Input Transform”. DaVinci Resolve will then automatically detect the different source cameras on your timeline and apply the proper transform.
Finally, set the “ACES Output Transform” to match your display, hit “Save”, and the basic ACES setup is complete.

3. Manual input transform

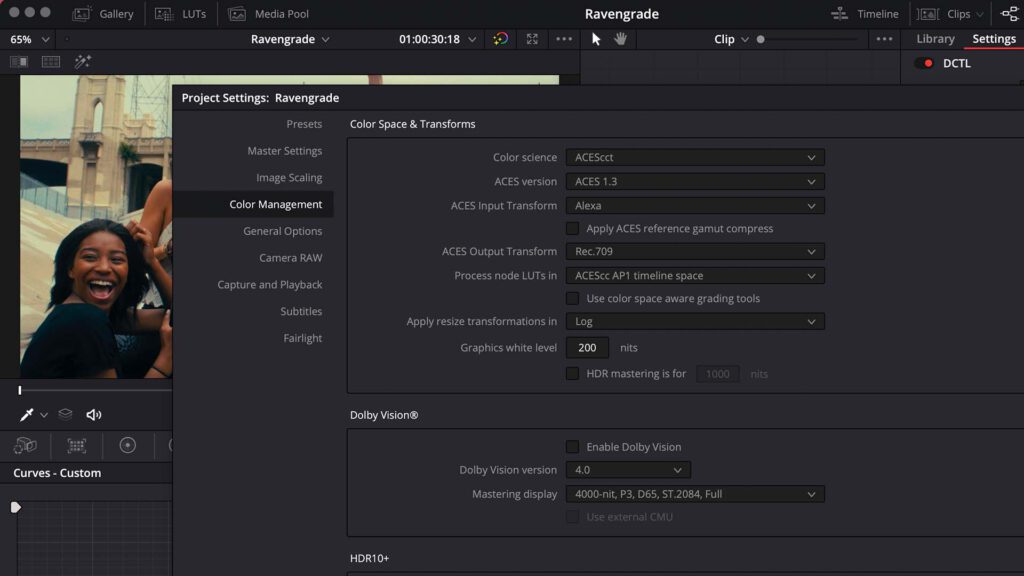
However, there are times when DaVinci Resolve doesn’t recognise the footage automatically, and you’ll have to set the input transforms on the clips manually. This typically happens with e.g transcoded footage that is missing metadata. In those cases, right-click on the clips in your timeline and set the “ACES Input Transform” to match the different cameras. A manual input transform can also be set on multiple clips simultaneously in the Media Pool.
Note that the “ACES Input Transform option” on clip level is only available if the camera source is not automatically detected.

5. The Looks

Now, the ACES workflow is setup correctly and you can start working with the ACES looks in Cinelook and its grading controls.
In most professional workflow it’s preferred to grade in camera space, so we recommend to work on nodes prior to the Cinelook Plugin. This way, the color controls will behave the way they are designed to work, and by running the corrections through the shape of the Look Modification Transform the technical end-result will be better.